Speed  Enable gzip compression

Compression of your HTML and CSS files with gzip typically saves around fifty to seventy percent of the file size. This means that it takes less time to load your pages, and less bandwidth is used over all.
Enabling compression is pretty much the standard now and if you are not using it for some reason, your webpages are slower than your competitors.
How compressed files work on the web
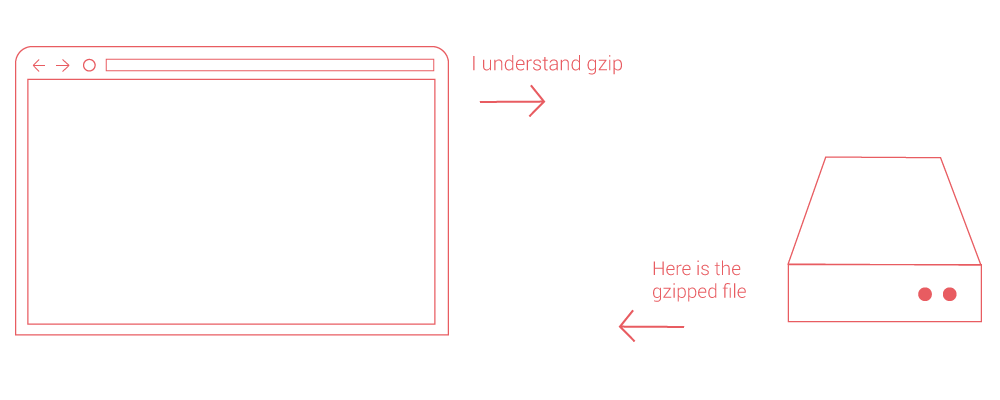
When a request is made by a browser for a page from your site your webserver returns the smaller compressed file if the browser indicates that it understands the compression. All modern browsers understand and accept compressed files.
How to enable Gzip compression on your website
For most people reading this, compression is enabled by adding some code to a file called .htaccess on their web host/server. This means going to the file manager (or wherever you go to add or upload files) on your webhost.
The .htaccess file controls many important things for your site. If you are not familiar with the .htaccess file, please read my working with .htaccess article to get some know how before changing it.
The code below should be added to your .htaccess file...
<ifModule mod_gzip.c>
mod_gzip_on Yes
mod_gzip_dechunk Yes
mod_gzip_item_include file .(html?|txt|css|js|php|pl)$
mod_gzip_item_include handler ^cgi-script$
mod_gzip_item_include mime ^text/.*
mod_gzip_item_include mime ^application/x-javascript.*
mod_gzip_item_exclude mime ^image/.*
mod_gzip_item_exclude rspheader ^Content-Encoding:.*gzip.*
</ifModule>
Save the .htaccess file and then refresh your webpage.
Check to see if your compression is working using the Gzip compression tool.
What does this do?
Adding this code to your .htaccess file will enable Gzip compression for the most commonly gzipped files and will help your webpages load faster. This not only helps your web page speed, but it also reduces your bandwidth so those who are paying for bandwidth can save real money by doing this.
Enable compression on Apache webservers
The instructions and code above will work on Apache. If they are not working there is another way that may work for you. If the above code did not seem to work, remove it from your .htaccess file and try this one instead...
AddOutputFilterByType DEFLATE text/plain
AddOutputFilterByType DEFLATE text/html
AddOutputFilterByType DEFLATE text/xml
AddOutputFilterByType DEFLATE text/css
AddOutputFilterByType DEFLATE application/xml
AddOutputFilterByType DEFLATE application/xhtml+xml
AddOutputFilterByType DEFLATE application/rss+xml
AddOutputFilterByType DEFLATE application/javascript
AddOutputFilterByType DEFLATE application/x-javascript
Enable compression on NGINX webservers
To enable compression in NGINX you will need to add the following code to your config file
gzip on;
gzip_comp_level 2;
gzip_http_version 1.0;
gzip_proxied any;
gzip_min_length 1100;
gzip_buffers 16 8k;
gzip_types text/plain text/html text/css application/x-javascript text/xml application/xml application/xml+rss text/javascript;
# Disable for IE < 6 because there are some known problems
gzip_disable "MSIE [1-6].(?!.*SV1)";
# Add a vary header for downstream proxies to avoid sending cached gzipped files to IE6
gzip_vary on;
Enable compression on Litespeed webservers
The ideal way to enable compression in Litespeed is to do it through the configuration under "tuning". Just go down to "enable compression" and check to see if it is on, if not click "edit" then choose to turn it on. While you are there, look over the several Gzip options that are nearby.
 by Patrick Sexton
Home  Page speed Enable Gzip Compression